Happy new year to everyone! This is a quick and dirty (pun intended) tutorial on my approach to the hairspray weathering technique. Nothing groundbreaking here, but it had come up as a question in my local painting facebook group, so I took an evening and created this step by step tutorial. I hope you find it helpful.
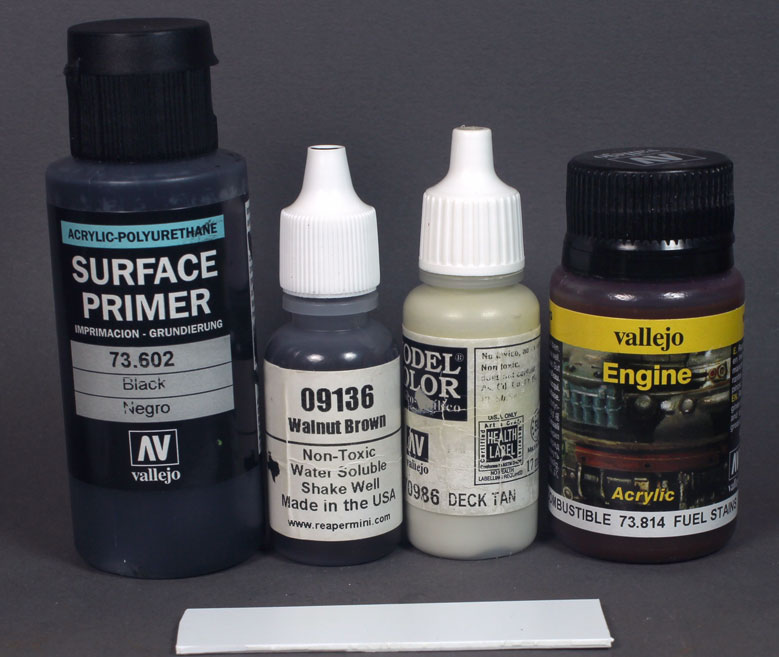
The painting supplies: Black primer, Reaper Master Series Walnut Brown (any dark brown will do), Vallejo Model Color Deck Tan and some weathering acrylic. (Fig. 1)
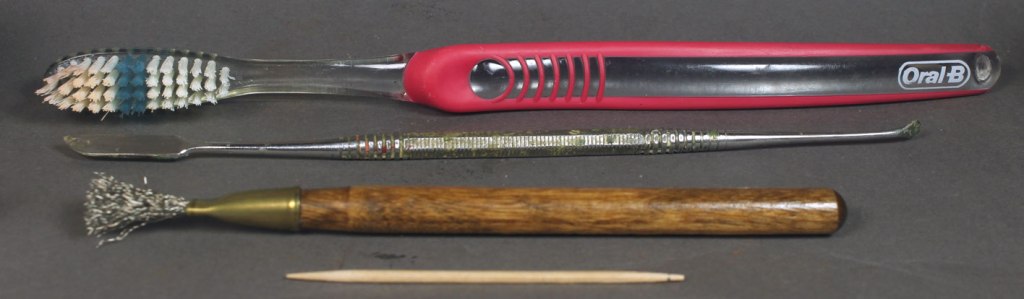
The chipping tools: A wooden toothpick, a stiff bristled toothbrush, and some other items for variation on the chipping. (Fig. 2)
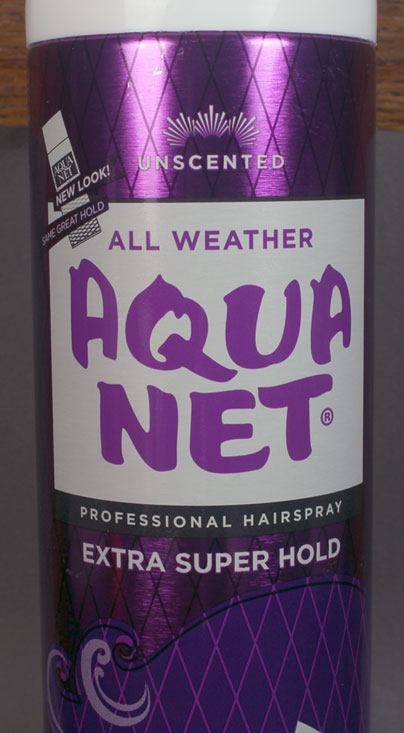
The magic stuff: Run of the mill hairspray. This is what I have, but I think any brand will do. (Fig. 3)

Some weathering pigments to take your piece up a notch. (Fig. 4)
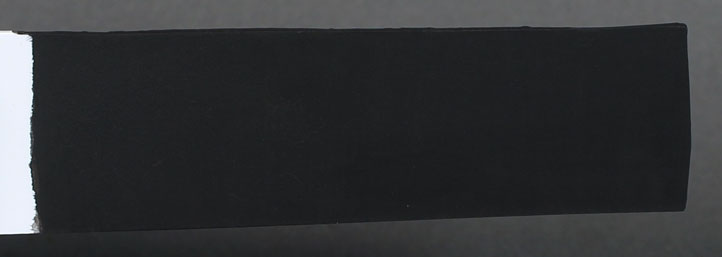
Prime the piece in black (or do a black undercoat over the primer of your choice). (Fig. 5)
RMS Walnut Brown. This provided the undercoat that will be exposed when you begin chipping. After you have a solid coat of this, liberally apply the hairspray. The hairspray will help to protect this layer from the chipping to follow. (Fig. 6)
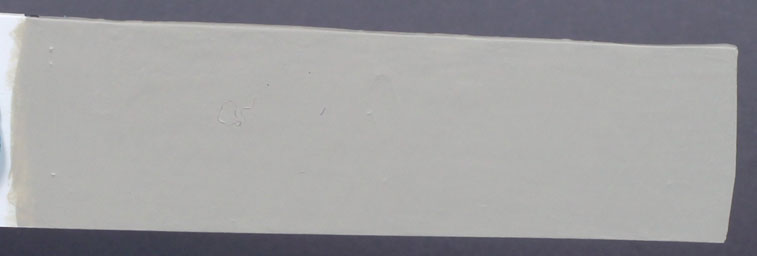
Vallejo Model Color Deck Tan. The actual “paint” to be chipped. This is painted over the Walnut Brown after the hairspray has dried. (Fig. 7)
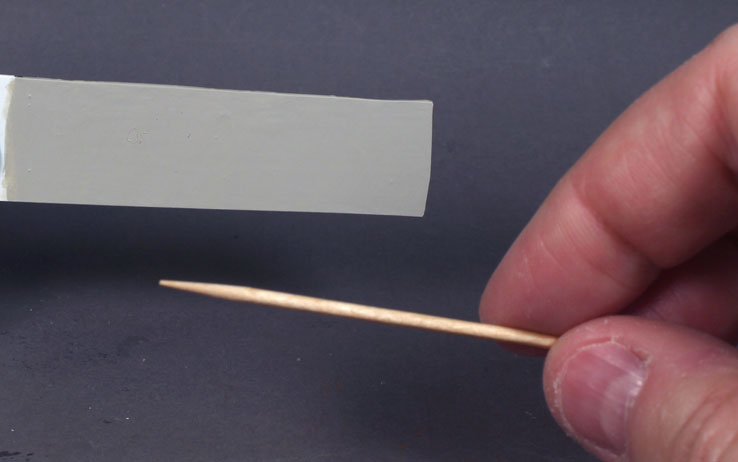
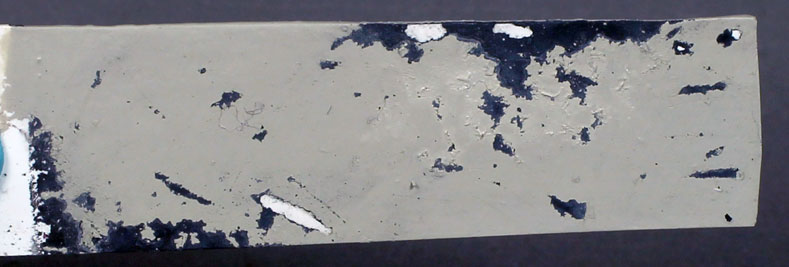
The chipping begins. Generally, I apply straight water over the area to be chipped and let it sit for a few minutes and then add a bit more. It needs to be saturated. I prefer to use the wooden toothpick. I used the metal pieces as well, but as you will see, it takes a very light touch and with the metal instruments is easy to chip down to the plasticard. This step is more about the scratches and small linear dings. (Fig. 8.)
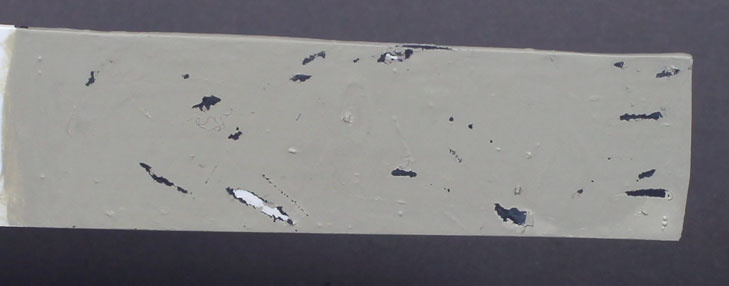
Initial chipping. You can see where I was too aggressive and chipped down to the plasticard. We will remedy this later. (Fig. 9)
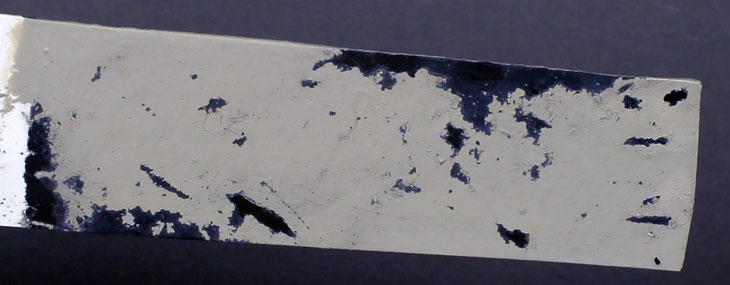
For the next step I will use a fairly stiff bristle toothbrush and will repeatedly strike the area firmly with the bristles. I use this motion to try and break off larger pieces in an irregular pattern. (Fig. 10)
Here is the combined results of the toothpick and toothbrush. As you can see, I managed to accidentally break off more of the undercoat and primer. (Fig. 11)
It is a fairly simple matter to go back and reprimer and undercoat those previously bare areas. (Fig. 12)
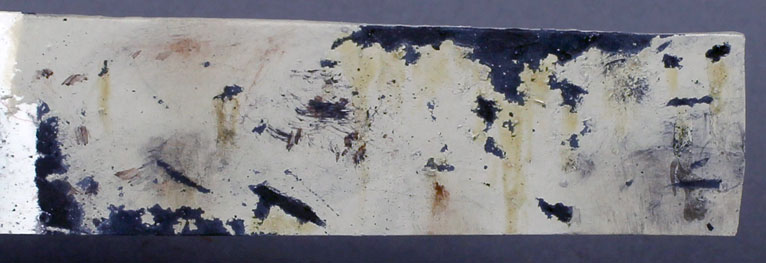
This step is entirely optional but will take the weathering to the next level. I used the Vallejo Fuel Stains to create a dripping effect. Any brown will do if you are looking for dirt stains. Alternatively, this is where I would go with rust colors or pigments for something that had been out in the rain for an extended period of time. I have also taken some of the Mig Productions Dark Mud and Black Smoke pigments and smudged them around to add some additional visual interest. (Fig. 13)
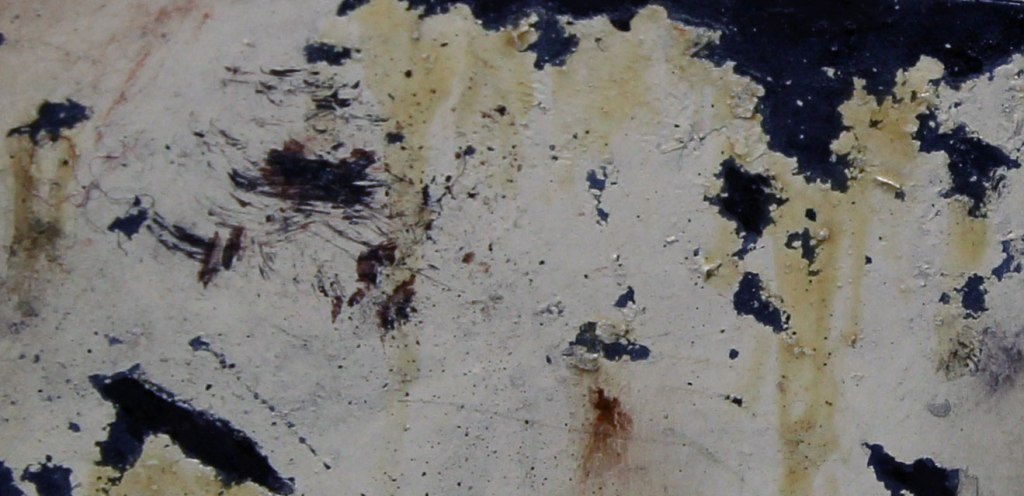
Here is a close-up detail shot. I feel that this technique affords three primary benefits. The randomness of the pattern is nice for me, as I tend to have a problem with asymmetry when freehanding “randomness” and this helps to combat that. The second is the level of detail that can be created. It would be nearly impossible for me to freehand this degree of fine detail and punctate damage. Finally, the combination of the water and the damage from the toothbrush and toothpick creates some texturing/buckling of the paint that could not be done otherwise. Arguably, this will likely only be appreciated in photographs or under very close observation in hand. It will not be noticed at arm’s length on the table; that said I think it will catch the eye and cause the observer to pause and look a bit closer at the effect. (Fig. 14)
I hope you find this has been informative. If you have any questions, let me know!
